A Calorized Lance Pipe is one of the important equipment for high temperature melting metal. With the same purpose of the connection, each customer requires their own preferable demands on different connection types. In Daiwa Lance, under the strict quality control of calorizing process, we produced 6 main types of Calorized Lance Pipe connected by coupling, welding, and lance pressing machine. In this blog post, you'll learn how to connect Calorized Lance Pipes through the 3 different methods respectively.
Connecting by Screw Socket
Calorizing Lance Pipes of type 1,2,3 will include both ends threaded with one coupling and one plastic cap. 
When using the above-mentioned types of Calorized Lance Pipes, you can connect pipes together by hand with a socket and use a small tool like the wrench to tighten the connection. This way of doing can help you to connect pipes quickly and immediately while fully using the Calorized Lance Pipes without remaining anything.

RELATED POST
Connecting by Welding
With Calorized Lance Pipes of type 4 and 5, the pipes will be designed and produced with threadless ends subject to customers' preferable requirement.

You can use a single pipe or connect the pipes by welding them together to prevent air leakage. We recommend using an inner sleeve when welding the pipes to enhance strength and adhesion between the 2 pipes.
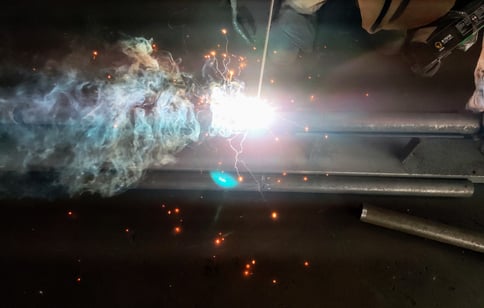
The above photo is Welding Process to connect 2 pipes
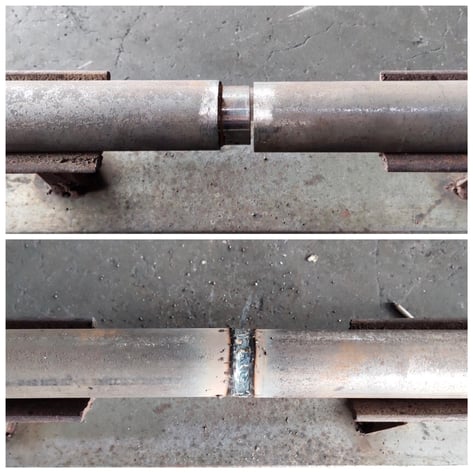
The photo is before Welding with an inner sleeve in the between
and after Welding with 2 pipes connected
Connecting by Pressing Machine
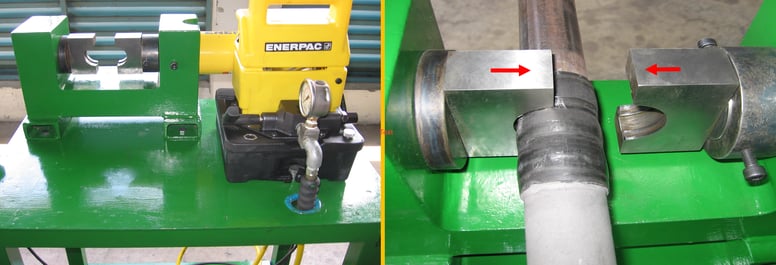
Calorizing Lance Pipes of type 6: While screw socket and welding machine are used for type 1, 2, 3, 4, 5, for type 6 we need a Press machine to connect pipes using a threadless coupling. With higher volume for consumption, you can consider using this type thanks to the good air leakage resistance and easy operation.

We will introduce how to operate and connect Calorized Lance Pipes of Type 6 by using Pressing Machine as below.
Step 1: Place the two Calorized Lance Pipes on the supporter.
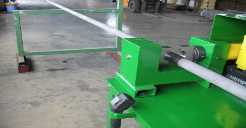
Step 2: Insert the non-coupled end of one Calorized Lance Pipe into the coupled end of another one until the pipes are closely connected inside the coupling.
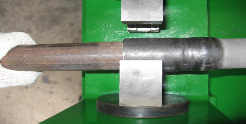
Step 3: Push the remote button switch and check if the piston of the ram is advancing.
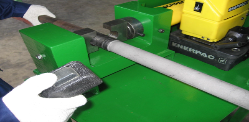
Step 4: Stop pressing the button. Check if both dies are facing correctly.
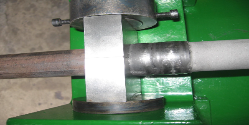
Step 5: Press the die so that it can be back to the starting position. Put the main switch of the pump to the position "OFF". Completely finish press work.
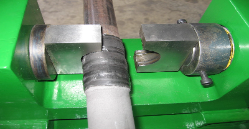
In Daiwa Lance, we can supply Daiwa Press Machine together with our Calorized Lance Pipes for the crimping purpose at your convenience. Please feel free to contact us if you have any requirement on this type of connecting machine.
Conclusion
All of the connection and operation methods have been introduced above. We hope that the information can help you have a better understanding of Calorized Lance Pipes' connection methods. If you have any further questions, please don't hesitate to contact us. We will always be at your service.
- Category:
- Daiwa Lance Products


