Thermic Lance is a powerful cutting tool designed for cutting large, hard materials, especially in heavy industries such as steel, copper, aluminum smelting, and more. With its ability to reach high temperatures between 3,000°C and 4,000°C, it is necessary that the operators know how to use Thermic Lance to cut materials safely and effectively. In this guide, we’ll walk you through the entire process—from preparing your protective gear to completing your cutting tasks—ensuring safety and efficiency every step of the way.

What is Thermic Lance and Why Is It So Useful in Cutting?
Thermic Lance is essentially a consumable steel pipe, typically packed with steel wires to enhance combustion during the burning process. This design allows the tool to reach temperatures up to 4,000°C when combusting, making it highly effective for cutting and demolishing materials quickly.
Thermic Lance is versatile and can cut through a wide range of materials including stainless steel, large steel scraps, used ships, offshore oil rig structures, refractory concrete, fire bricks, and even natural stone or steel pipes used in embankment construction.

Depending on specific needs and usage requirements, Thermic Lance comes in two designs: Type T (which is partially packed with steel wires and includes an inner steel pipe), and Type W (which is fully packed with steel wires).

4 Steps for Safe and Effective Material Cutting with Thermic Lance

Now that we’ve covered what Thermic Lance is and how it works, let’s dive into the practical part: How do you use it safely and efficiently?
Below is a simple 4-step guide that anyone can follow:
- Step 1: Prepare Personal Protective Equipment (PPE)
- Step 2: Set Up Equipment for Cutting
- Step 3: Begin Cutting
- Step 4: Complete the Work
Step 1: Prepare Your Personal Protective Equipment (PPE)
Since Thermic Lance operates using extreme heat, the proper protective gear is essential. Below are the must-have PPE items for safe Thermic Lance operation:

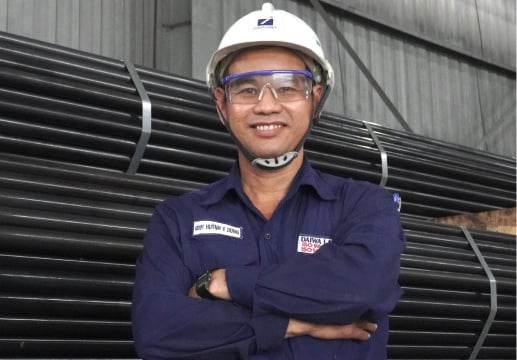
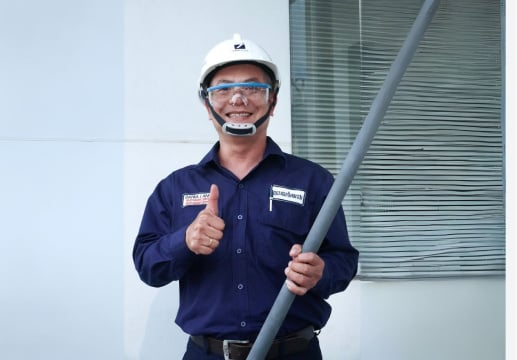
- Safety Helmet: Protects your head from impact, particularly when working with large, heavy materials.
- Safety Mask: Shields your face from sparks and reduces glare, protecting your eyes.
- Safety Gloves: Fire-resistant gloves provide better grip and protect your hands from burns.
- Safety Clothing: Fire-resistant clothing, similar to what firefighters wear, is crucial to prevent burns from flying hot material fragments.
- Safety Shoes: Sturdy, anti-slip footwear protects your feet from sharp objects and reduces the risk of slipping on hazardous surfaces.
In addition, the operator may choose to wear noise-canceling earplugs, a gas mask, or other protective gear as needed.
Read More: Must-Have Accessories Every Thermic Lance Kit Should Include
Step 2: Set Up Your Equipment for Cutting
Before you start cutting, it’s essential to set up your equipment correctly.
Here's what to do:
- Prepare Fire Safety Equipment: Ensure that a fire extinguisher is easily accessible in case of emergency.
- Check Your Oxygen Cylinder: Open the oxygen valve. Carefully inspect the pressure gauge to ensure the oxygen supply is sufficient. The pressure of oxygen should be 8-12 bar by oxygen regulator. Adjust the oxygen flow to match your cutting requirements.
- Connect the Equipment: Attach the oxygen hose to the lance holder. Insert Thermic Lance into the holder and tighten them two to avoid gas leakage. Also tighten the valve on the lance holder. Then, make sure that there are no leaks from hose, coupling and joint.
- Ignite Thermic Lance: Use an oxyacetylene torch to heat the far end of the lance until it turns red hot, signaling that it’s ready for use, then slowly open the oxygen valve to ignite the flame and start the burning.
Below is a video guide detailing the steps mentioned above.
Step 3: Start Cutting
Now it’s time to get down to cutting. Here’s how to begin cutting safely and effectively:
- Maintain a Safe Distance: Always keep a safe distance (at least 1 meter) from the material being cut to avoid flying sparks and molten metal. Move Thermic Lance towards the cutting direction, keeping it in close contact with the base material.
- Handle at the Correct Angle: Depending on the base material’s position, hold Thermic Lance at an angle between 30° and 60° to achieve the best cutting results.

- Replace the lance when using up: Once Thermic Lance was nearly consumed, replace it with a new one. The method for replacement may vary depending on the type of lance you're using. You can refer to the Product Page on our website for more information about the type of Thermic Lance or contact Daiwa Lance at the address below for support on how to connect different types during operation.
Step 4: Complete the Job
After cutting, the post-job cleanup is just as important for safety:
- Shut Off the Fuel Supply: Turn off the oxygen valve after completing the cut.
- Handle the Cut Material Carefully: Let the material cool down completely before handling it to avoid burns. Isolate the cut pieces in a safe location, away from often working areas, to prevent accidental contact. Place warning signs around hot materials to alert others if necessary.
Conclusion
We’ve just shared with you all the essential steps to use Thermic Lance safely and effectively.
Having a consistent and standardized cutting process ensures that operators feel confident about safety and effectiveness, while also minimizing potential issues during operation.
If you have any further questions during your use of Thermic Lance, or if you require customization for specific field applications, don’t hesitate to contact us by submitting an inquiry through the link below.
- Category:
- Daiwa Lance Products


